Printmaking may be one of the first forms of art that people are introduced to. Often, a baby's footprint is taken at the hospital. As a toddler, we may be introduced to simple printmaking with vegetables, fingerprints, or other objects in pre-school. Printmaking as a form of art goes back many centuries, but may best be traced to the early textile prints in 5th century China or the woodcut prints in 14th century Germany.
Here is the "Buxheim St. Christopher" print dating to 1423.
At the dawn of the Renaissance, artists called for finer lines and detail in their prints, so a technique of printing from metal, rather than wood blocks, came into fashion. These "Intaglio" prints demonstrated a master of the etching techniques that date to the mid-fifteenth century. Albrect Durer, of the North Renaissance movement, was particularly masterly in his work, as exemplified by "Melencolia I", seen below.
Here is a description of the work, taken from www.ivc.edu:
"Made in 1514 and titled Melencolia I, the engraving became one of the most famous of Albrecht Durer's prints. Although Albrecht Durer produced many prints throughout his life, his Melencolia I became one of his most famous prints. The engraving became a representative of modern thinking, and has been researched and studied by many people before. The title of the engraving is written on it on the top, left-hand side. The print shows a figure sitting, in the edge of the image, in a room surrounded with many different scientific, and mathematical tools. Sitting on a wheel next to the figure is a baby angel. Some of the mathematical tools that in the print include a compass, a scale, magic square, an hourglass, a geometric solid. The magic square says has the date that the print was produced, 1514. When the numbers on the magic square are added, from any row (horizontally, vertically, or diagonally) the result is always the number 34. There were many interpretations on the meaning behind the scene in the engraving. The most famous interpretation is that the figure in the image is trying to invent something genius. Because the figure is unable to invent something, he sits hopeless and depressed, creating the melancholic mood of the picture from which its name is derived."
Progressing through history, multi-coloured block printing gained its own movement in Japan in the mid-1700s. We previously discussed Katsushika Hokusai's "The Great Wave at Kanagawa".
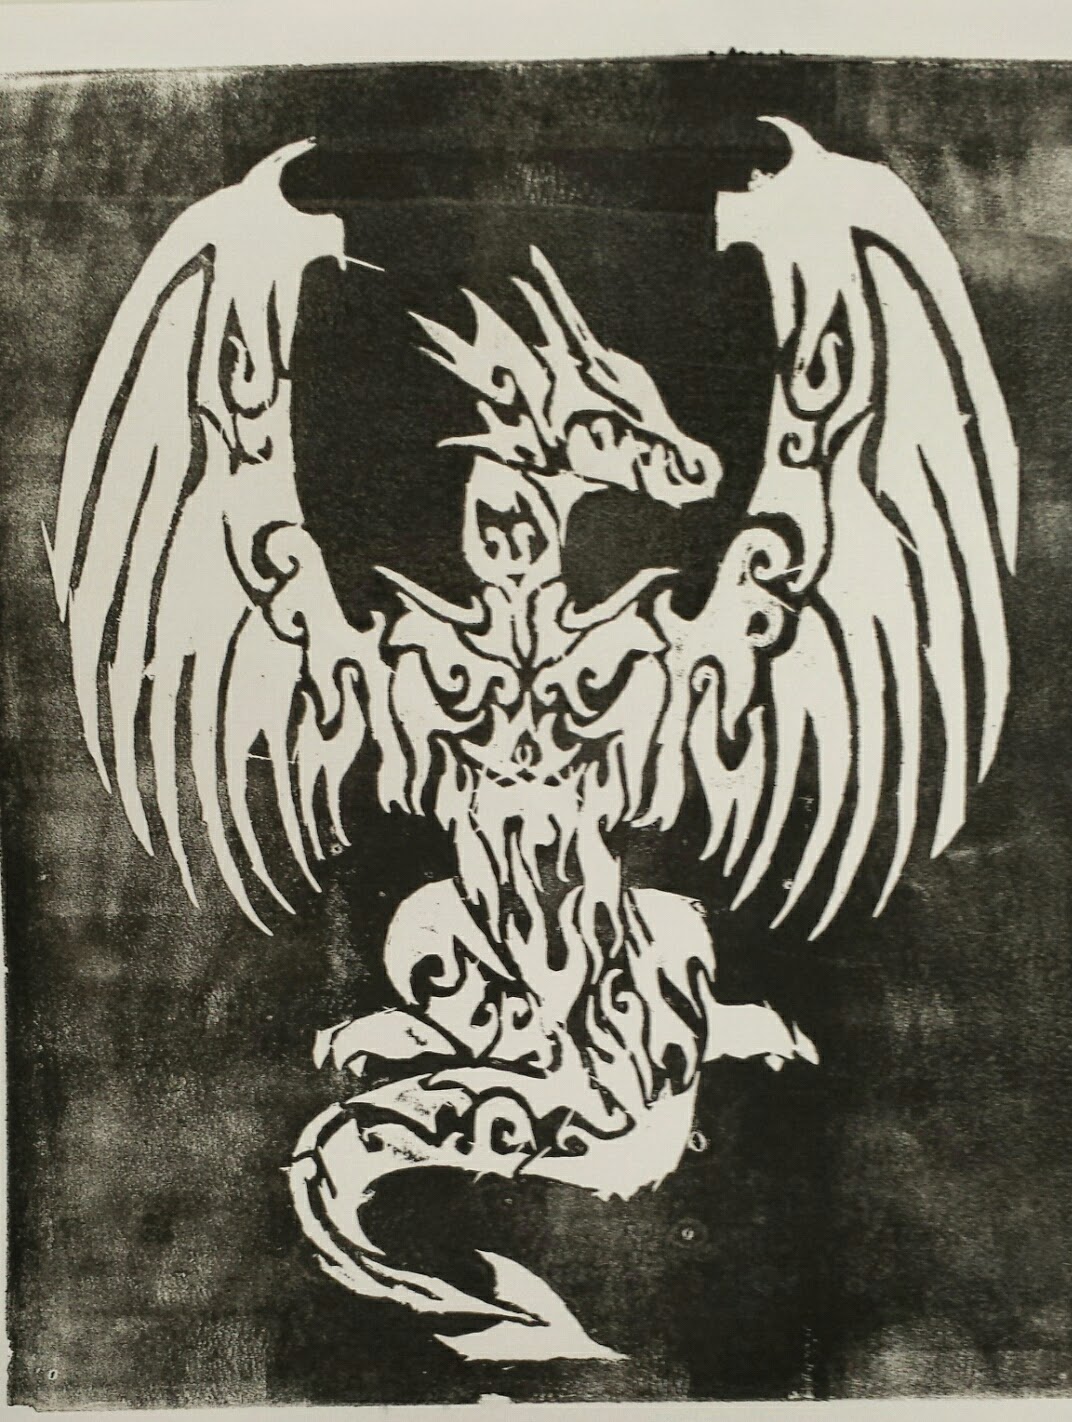
Modern techniques vary, but are firmly rooted in various applications throughout history. We focus primarily on the woodblock relief, utilizing MDF board as our printing block. Here is an example of the print that Meryn made in class yesterday:
Great work Meryn!